Retaining a Greenhouse Roof with 3d Printing
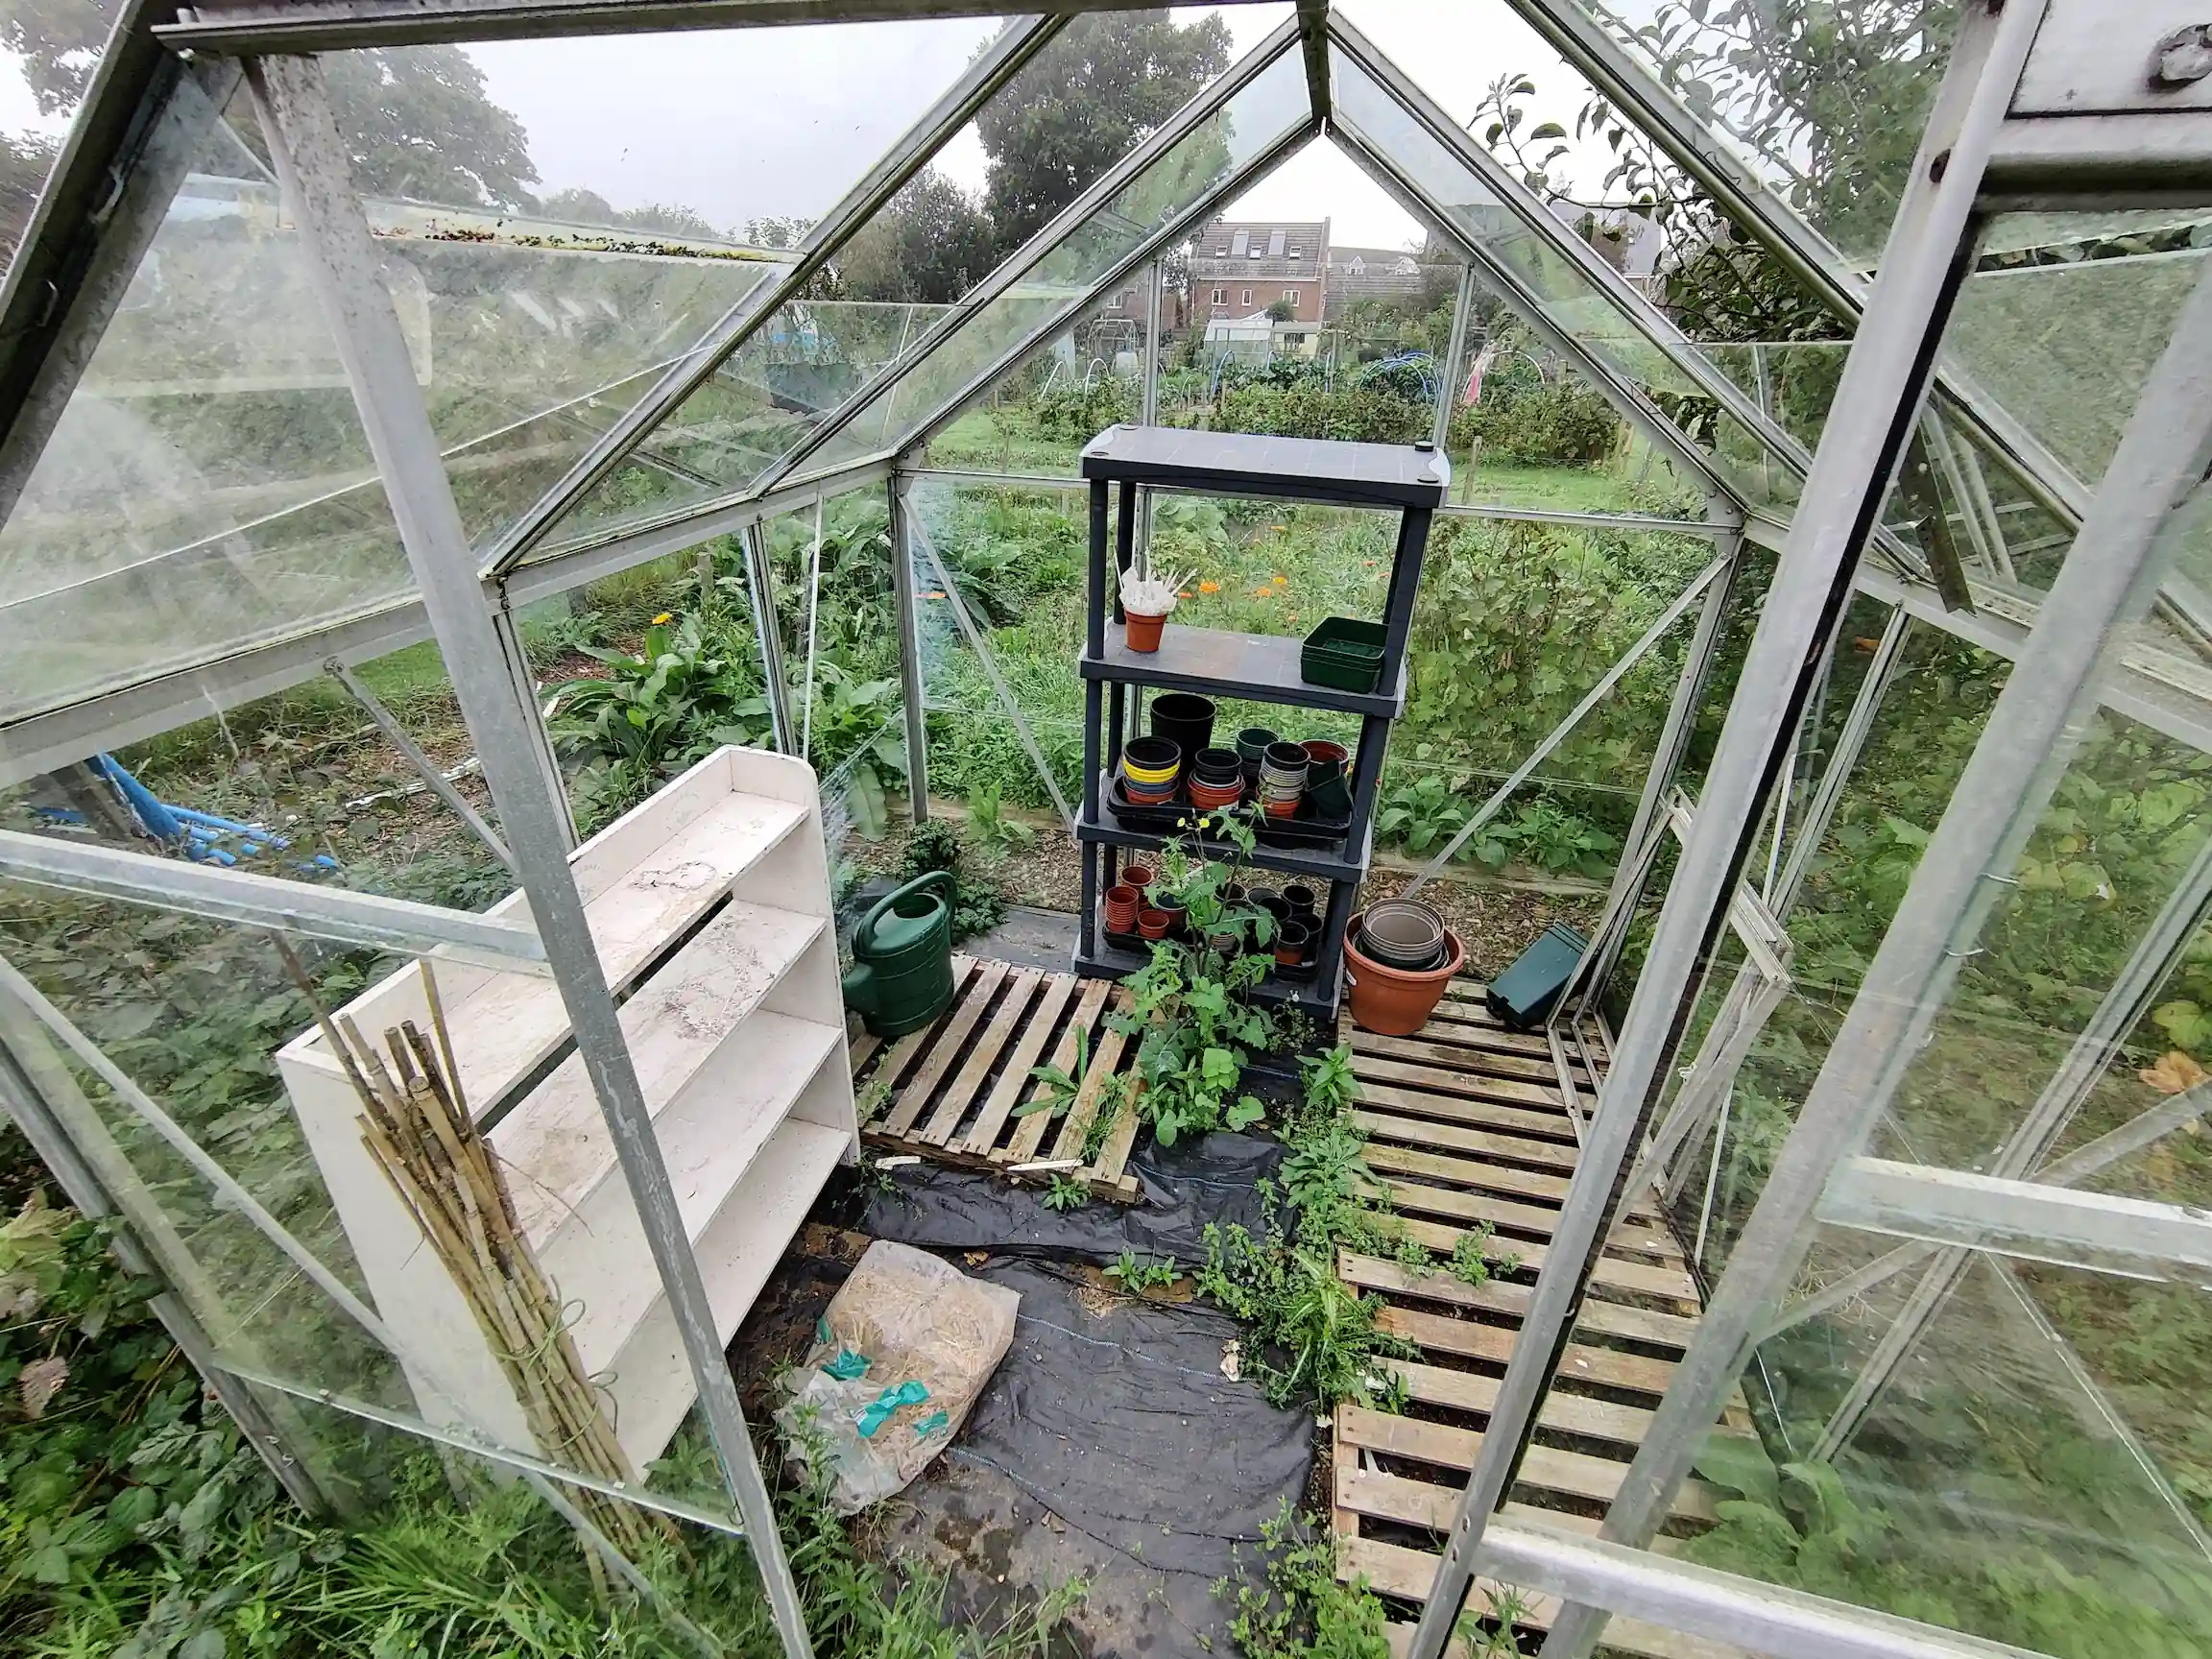
At the tail end of last year I took on a new allotment plot, on which sat a pretty standard little glass greenhouse. Unfortunately though, this greenhouse hadn’t had much recent attention in its provided state, with quite few missing or broken panes:
Rather than buying more glass panels I thought I’d instead use polycarbonate panels. While not as clear & aesthetically pleasing as glass, polycarbonate is a lot cheaper, lighter and easier to cut, while being less prone to breaking. A major downside though is that the panes can easily get blown out by the wind, thanks to their increased flexibility and lower weight. To address this shortcoming, I looked toward 3d printing for solutions.
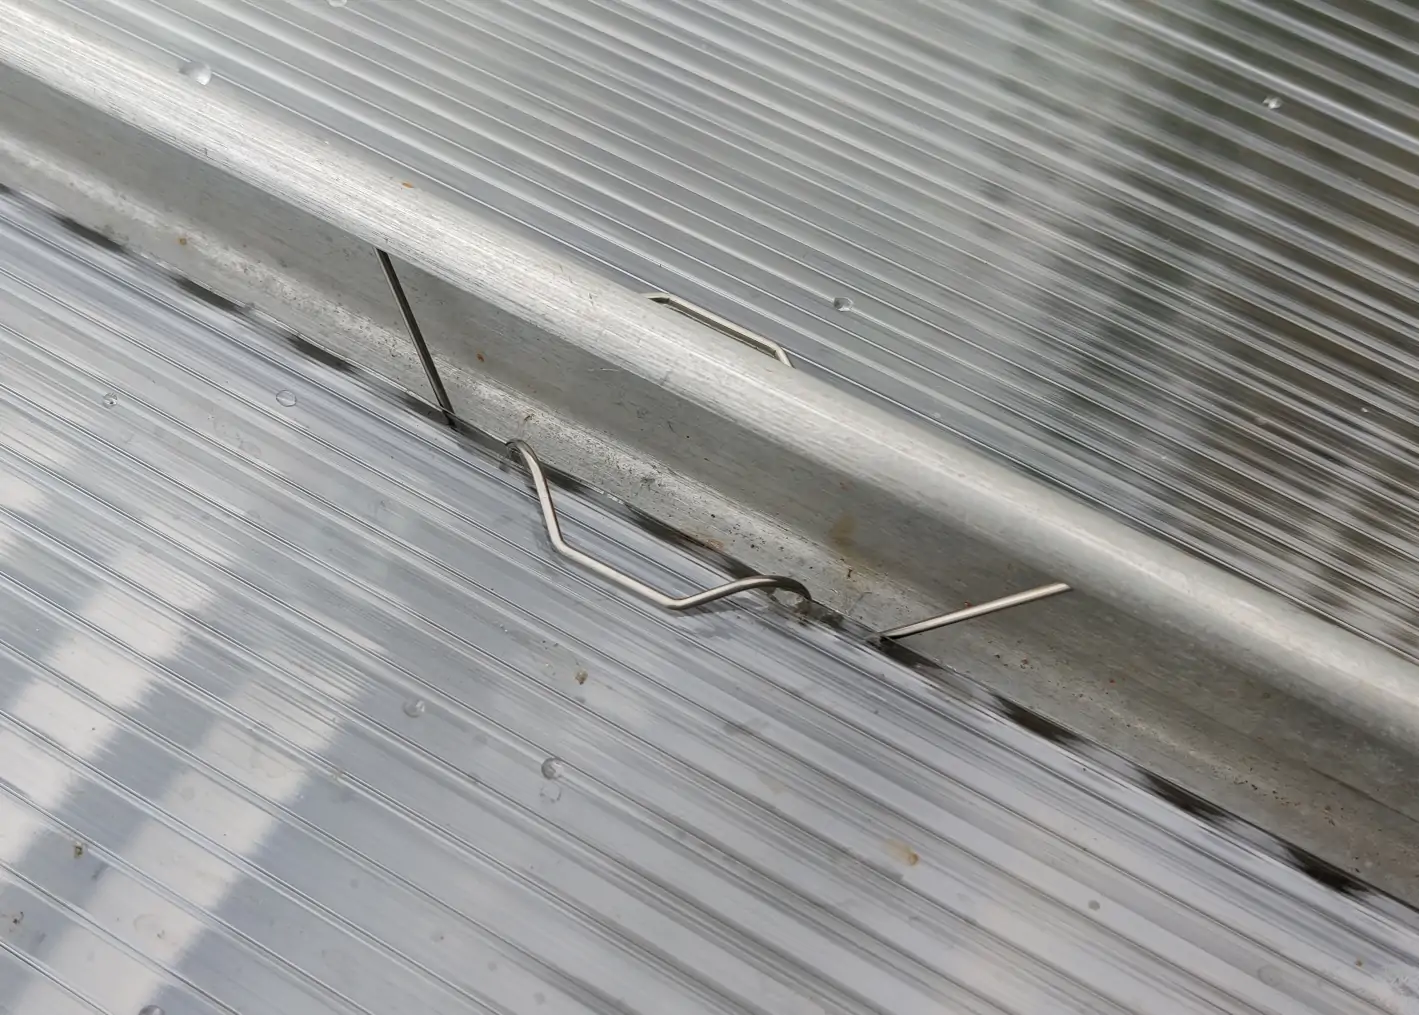
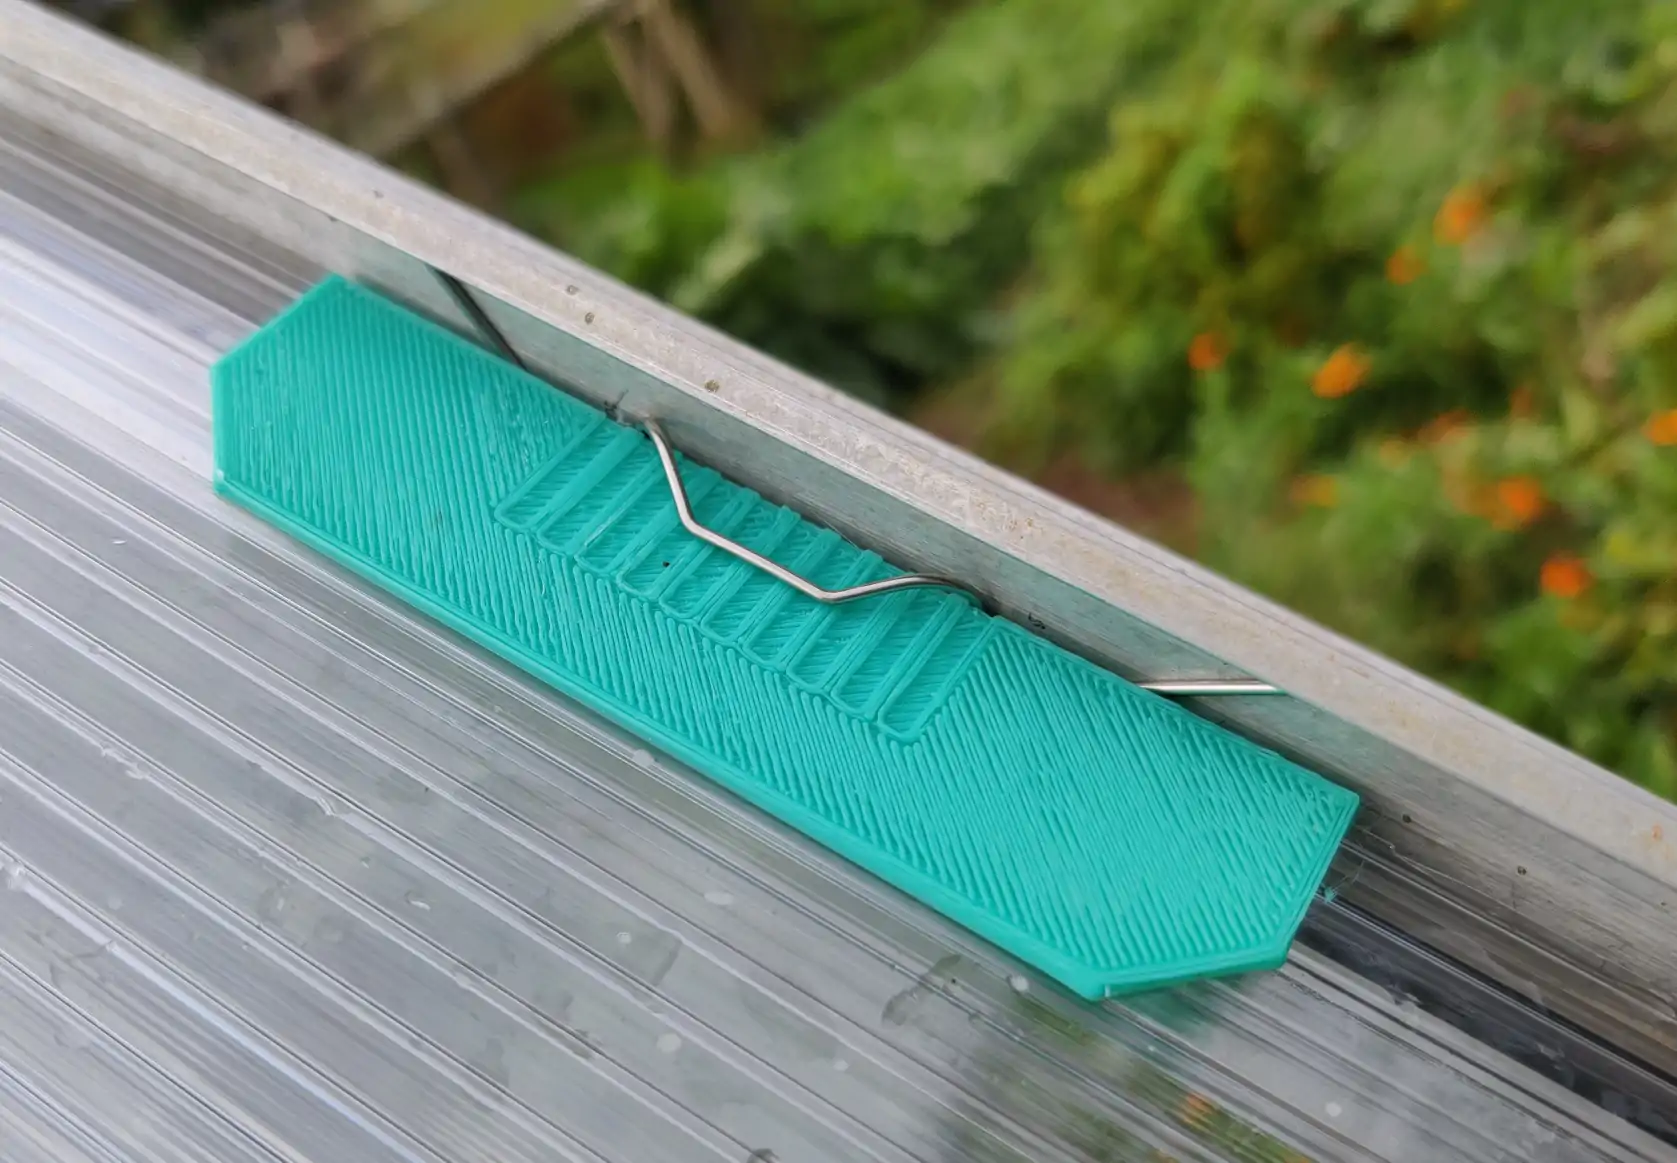
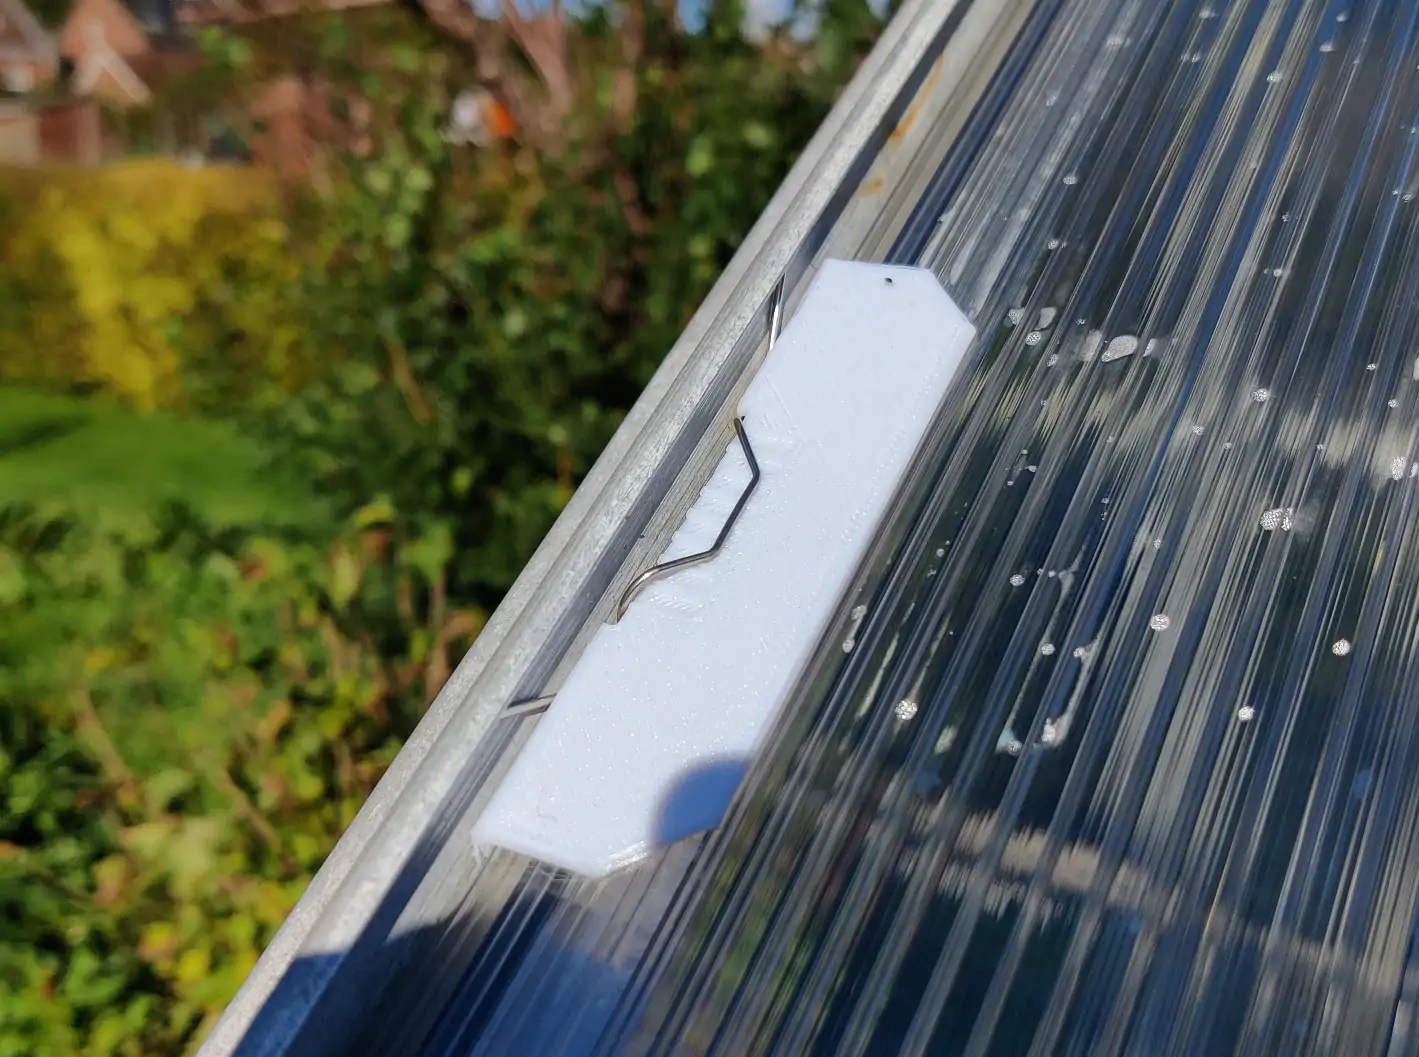
My first focus was an attempt to improve the use of “W” clips for such polycarbonate panels. These clips hold down panes along a short edge, while pushing against the greenhouse frame and holding against the side of the pane. While these work okay for typical rigid glass panes, polycarbonate will flex both directly under the retention point, and as a whole to come away from this edge retention. I therefore designed a part to work with these clips, to spread the force and increase the retention surface area:
The images above show the “W” clip without any addition, then my first prototype in green, then my revised design in white. This part grips around the edge of the pane, with a ridged surface on top for the clip to sit on for a bit of grip, with a wider outer surface area to spread the force of the wire clip. The revision altered some dimensions, and added a cut-out to allow the wire clip to better seat into this “retention spreader”. Below is a wider view of these very generously deployed to a single panel. This was a particularly problematic panel I was tackling, which I think was blowing out mainly due to a nearby missing glass pane which I’ve since addressed, so the displayed amount of clips is extreme and not really now required.
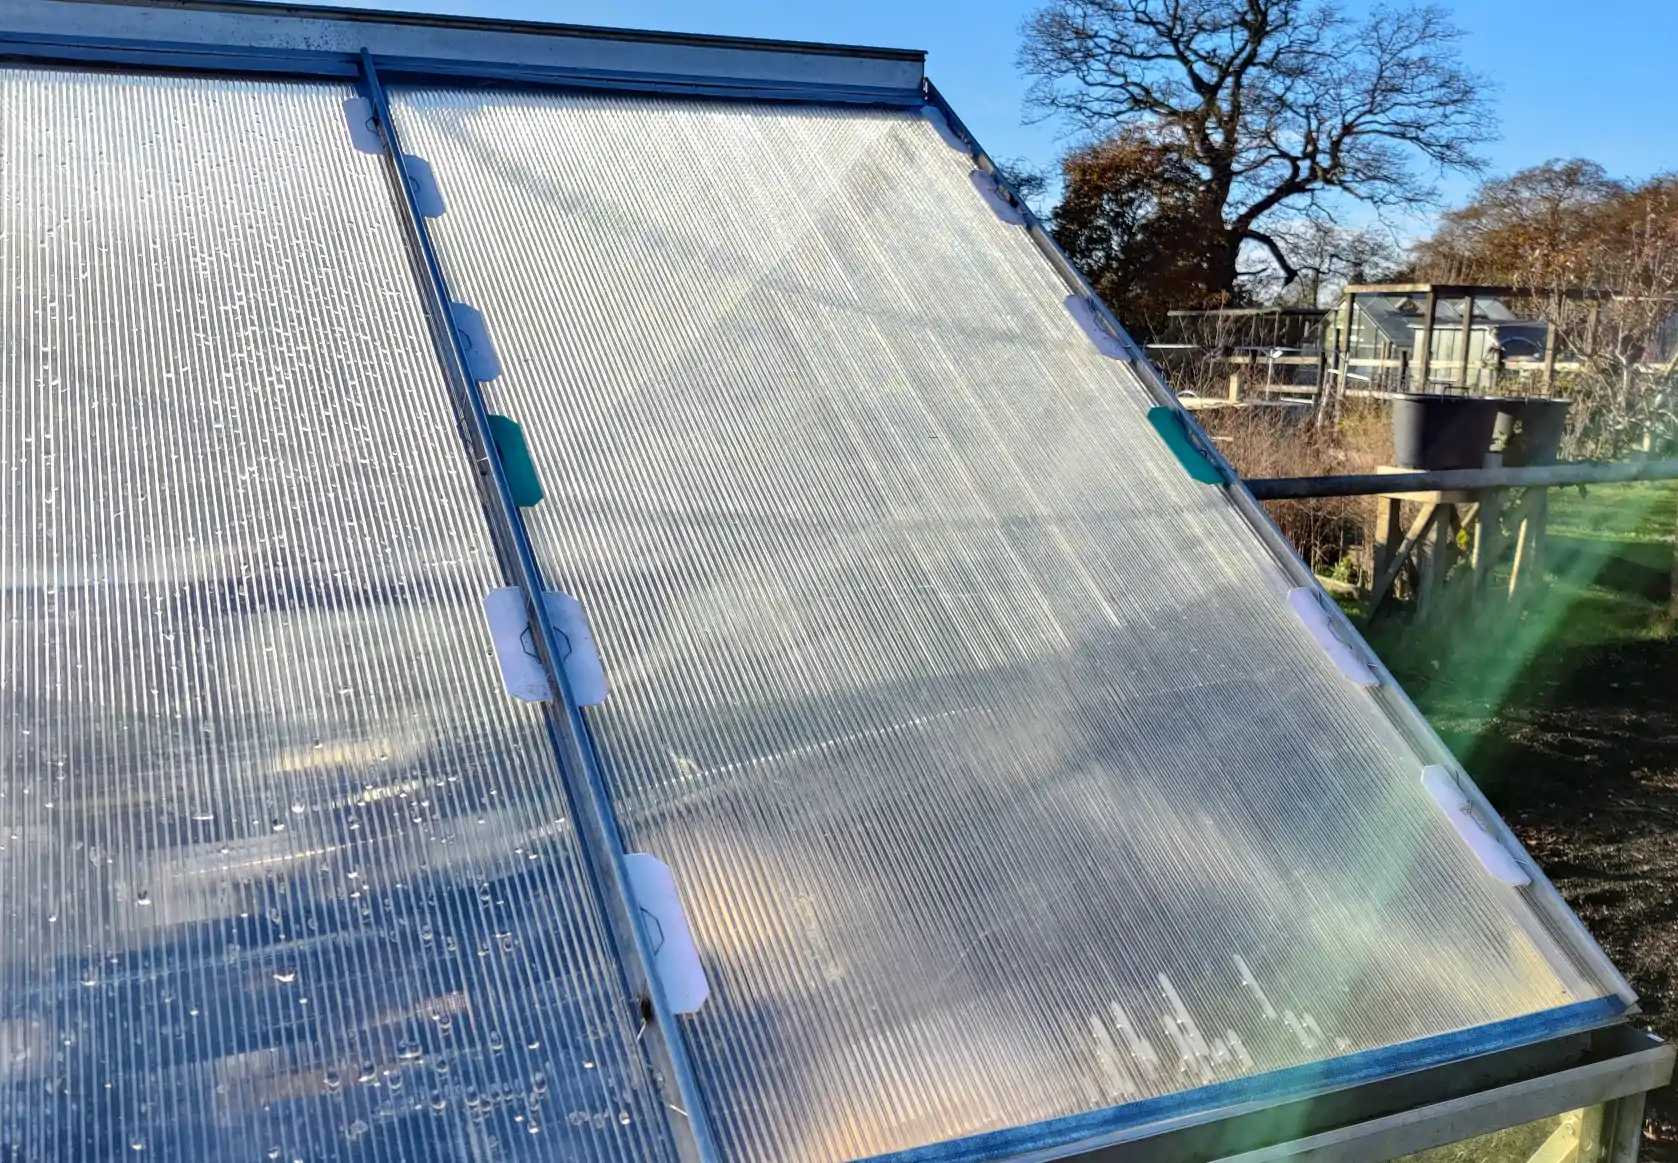
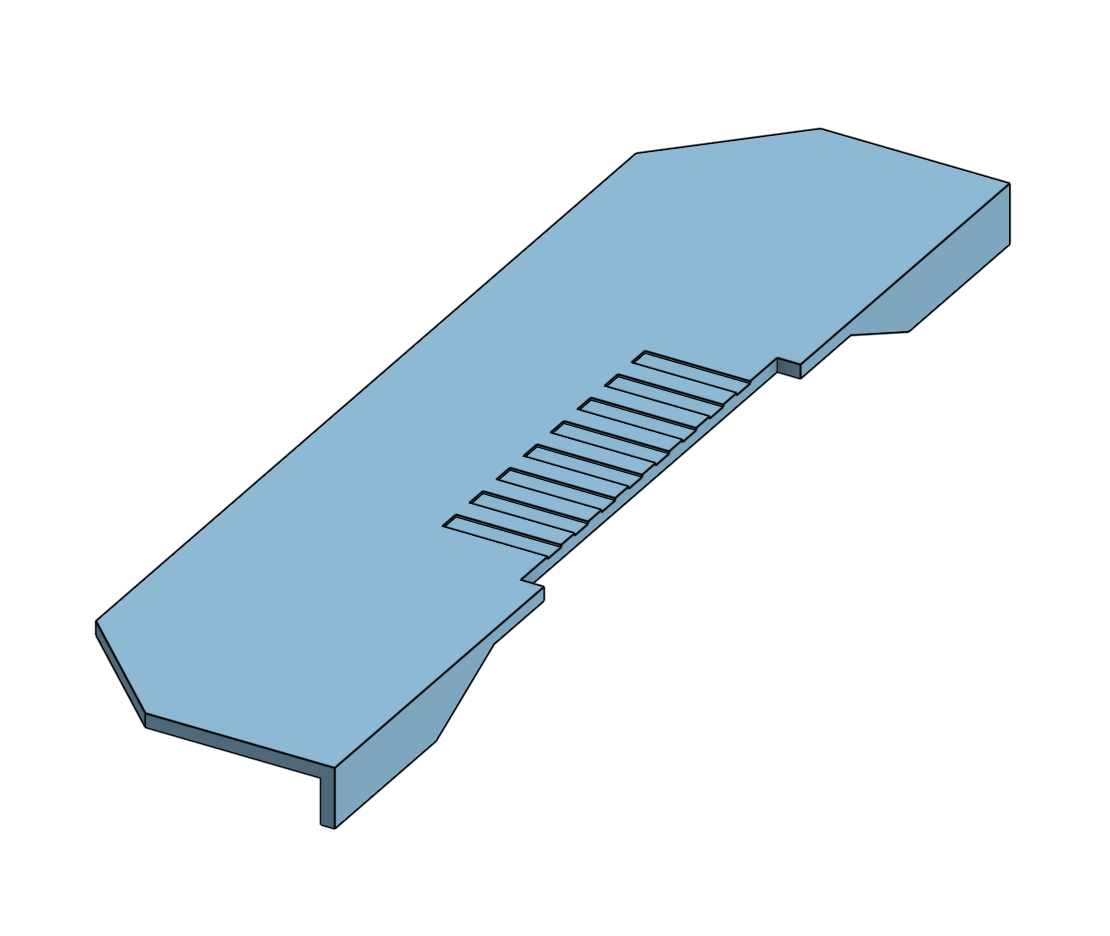
The next thing to address was an abundance of movement at the top of the panes, where they kind of “slot” into the peak of the roof. There was a good centimeter of vertical play, which added rattling and allowed room for flexing, so I designed a little spring-like part to sit underneath and push the pane, keeping it secured within the slot in the roof. It took a little tweaking to get the sizing correct for the right fit and springiness. A couple of these on each pane did the job and have not yet slipped out after a couple of months.
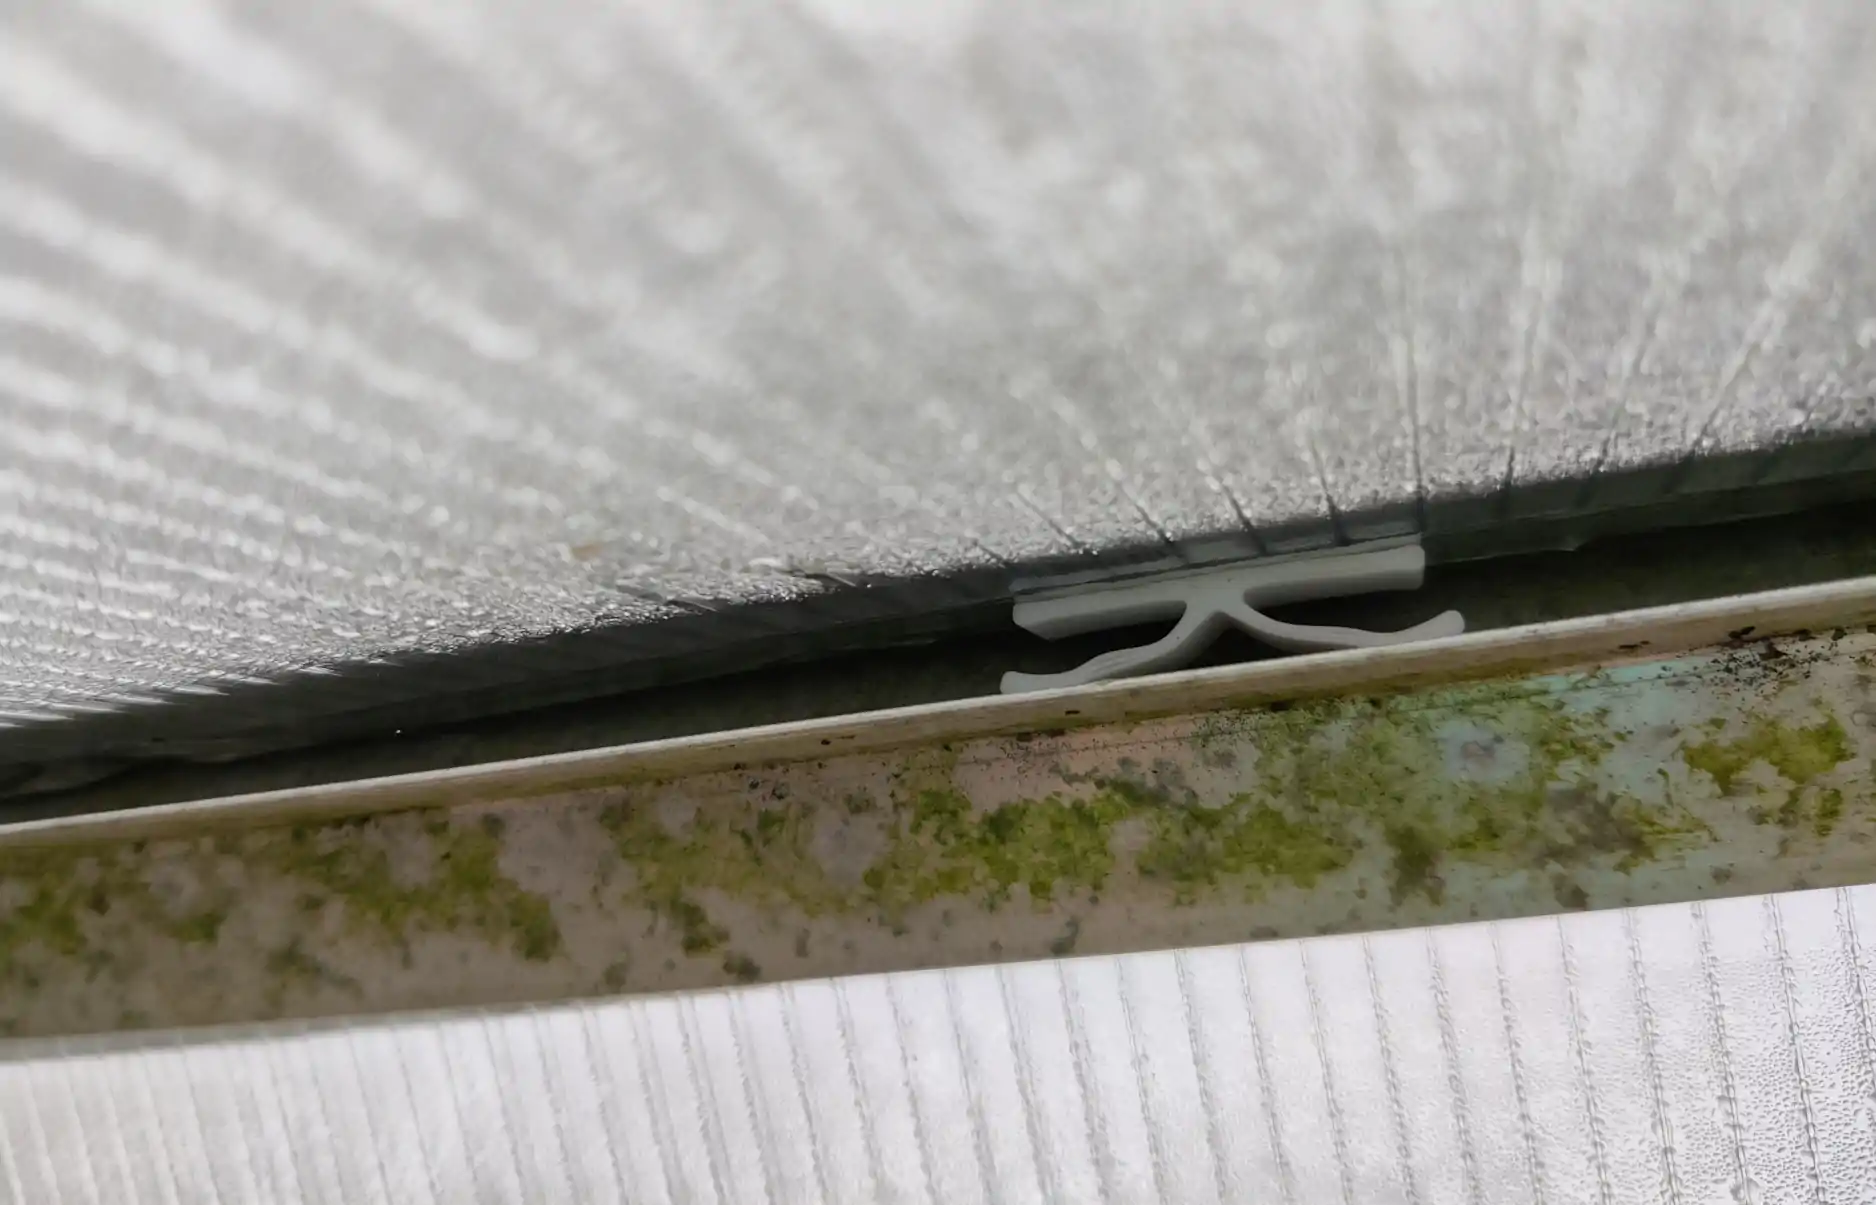
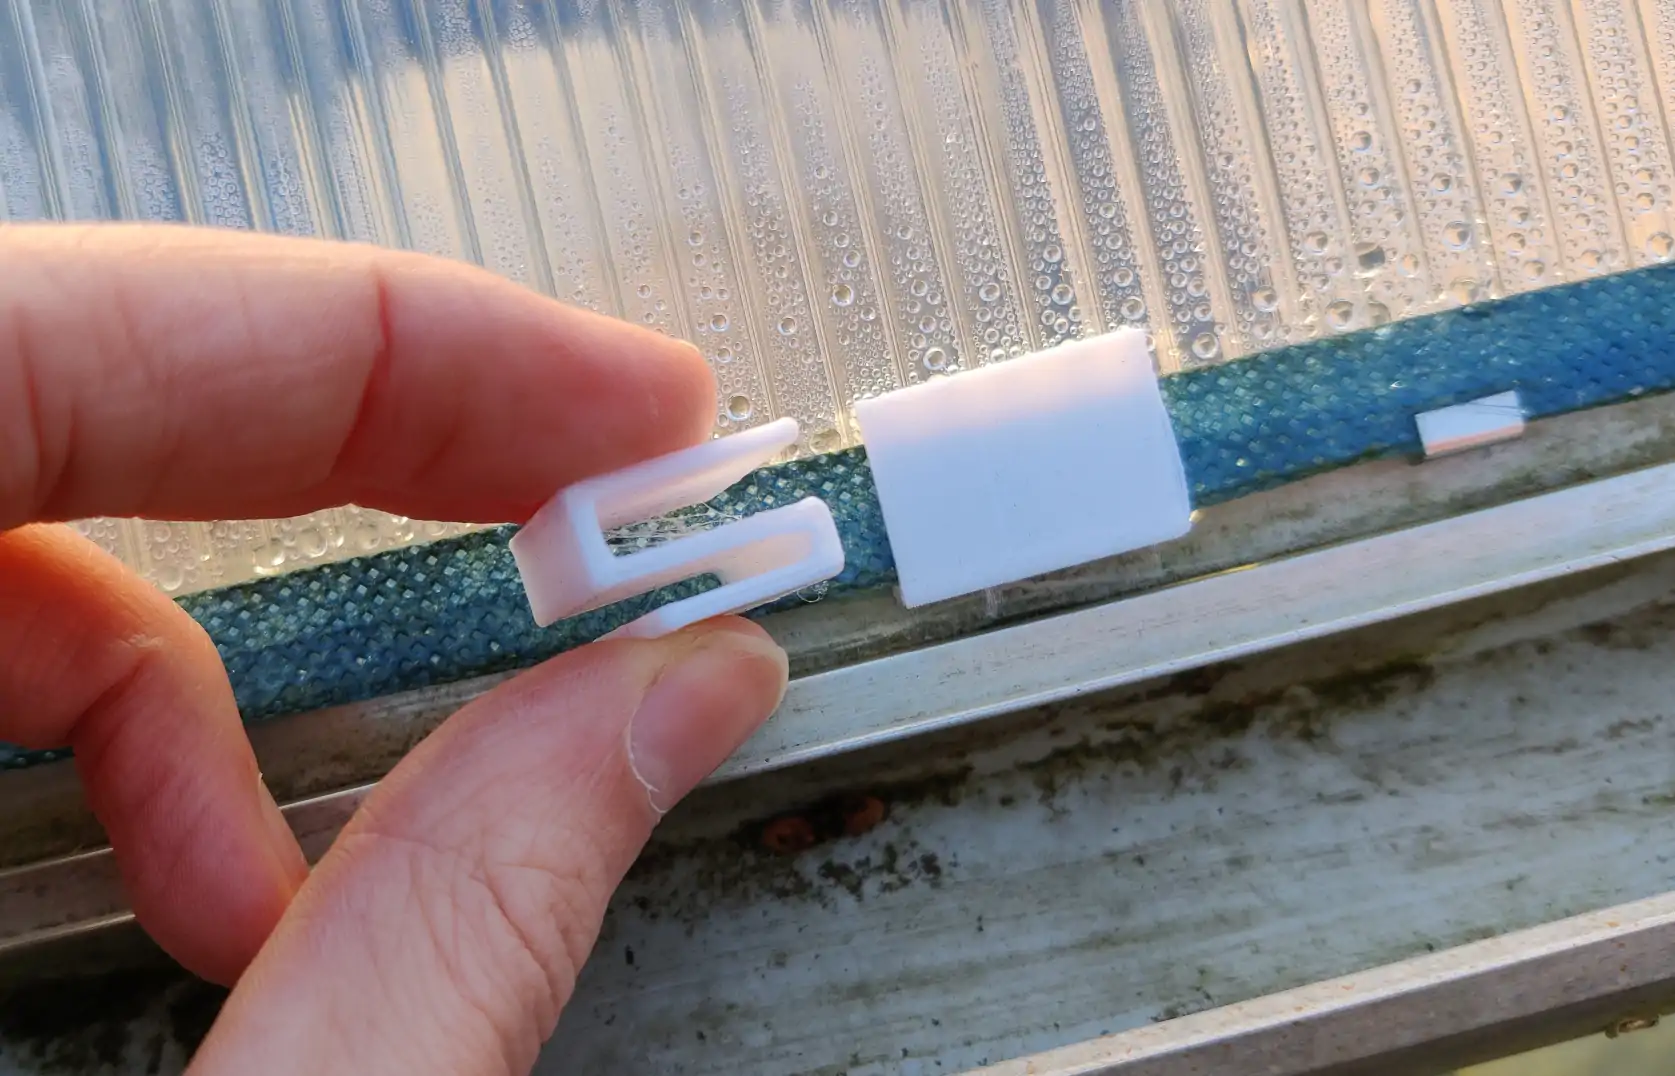
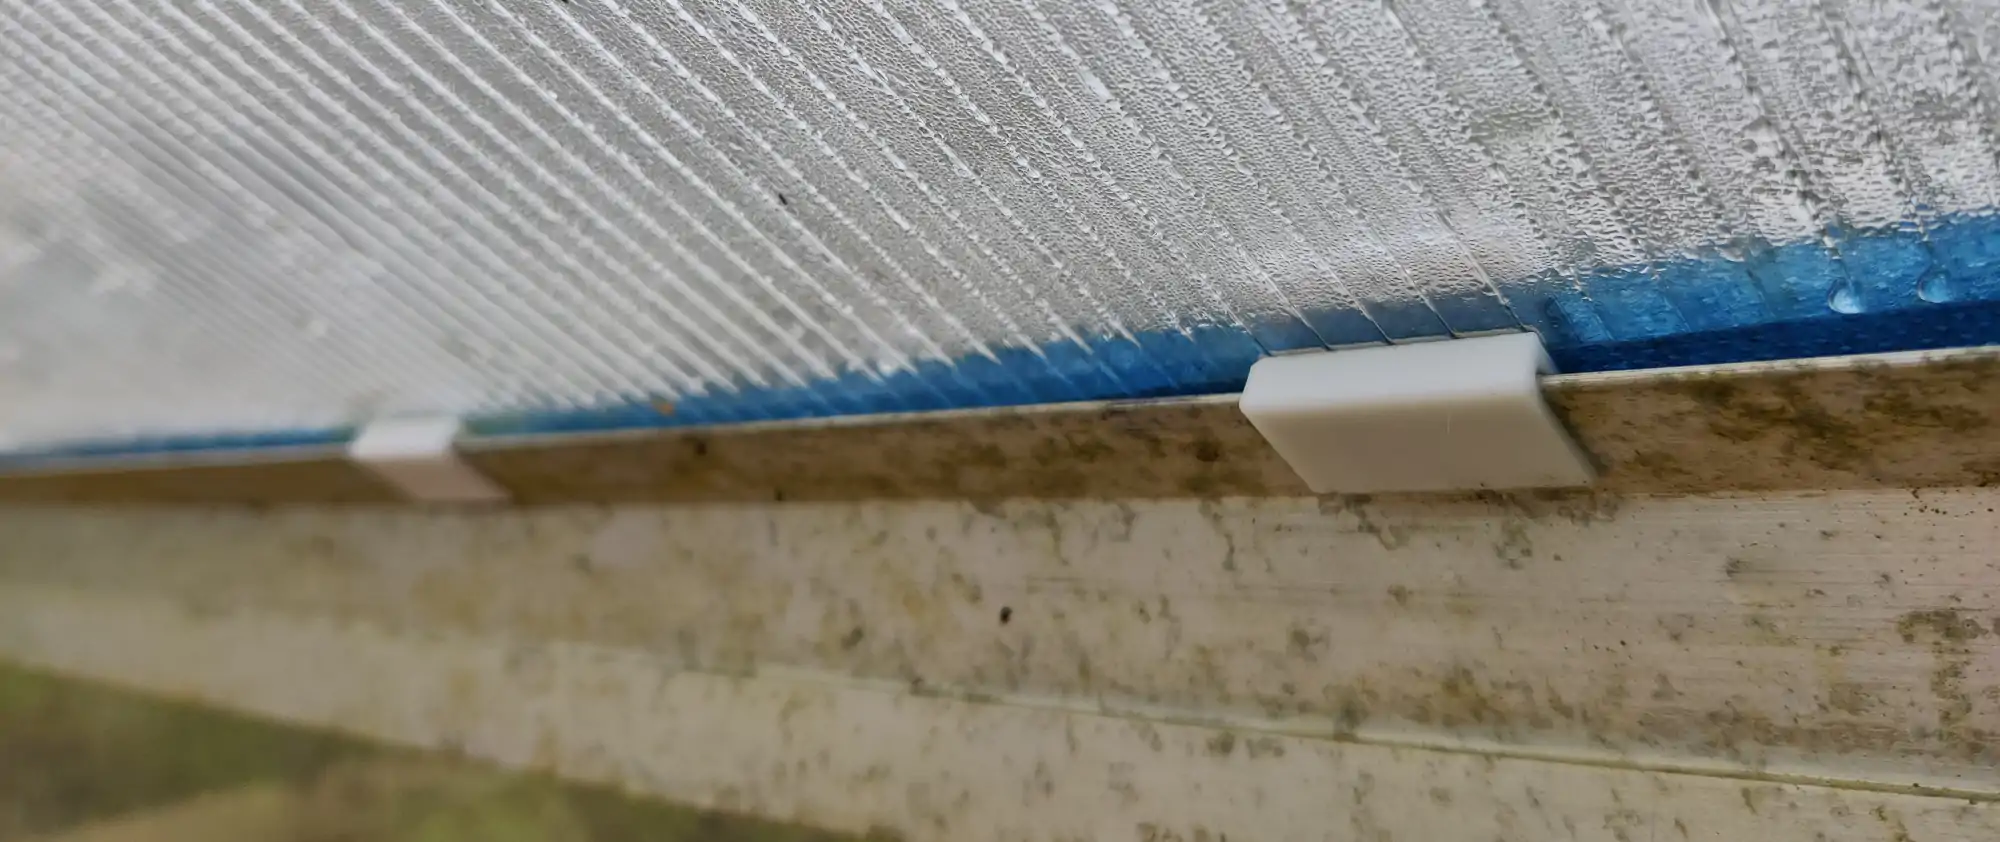
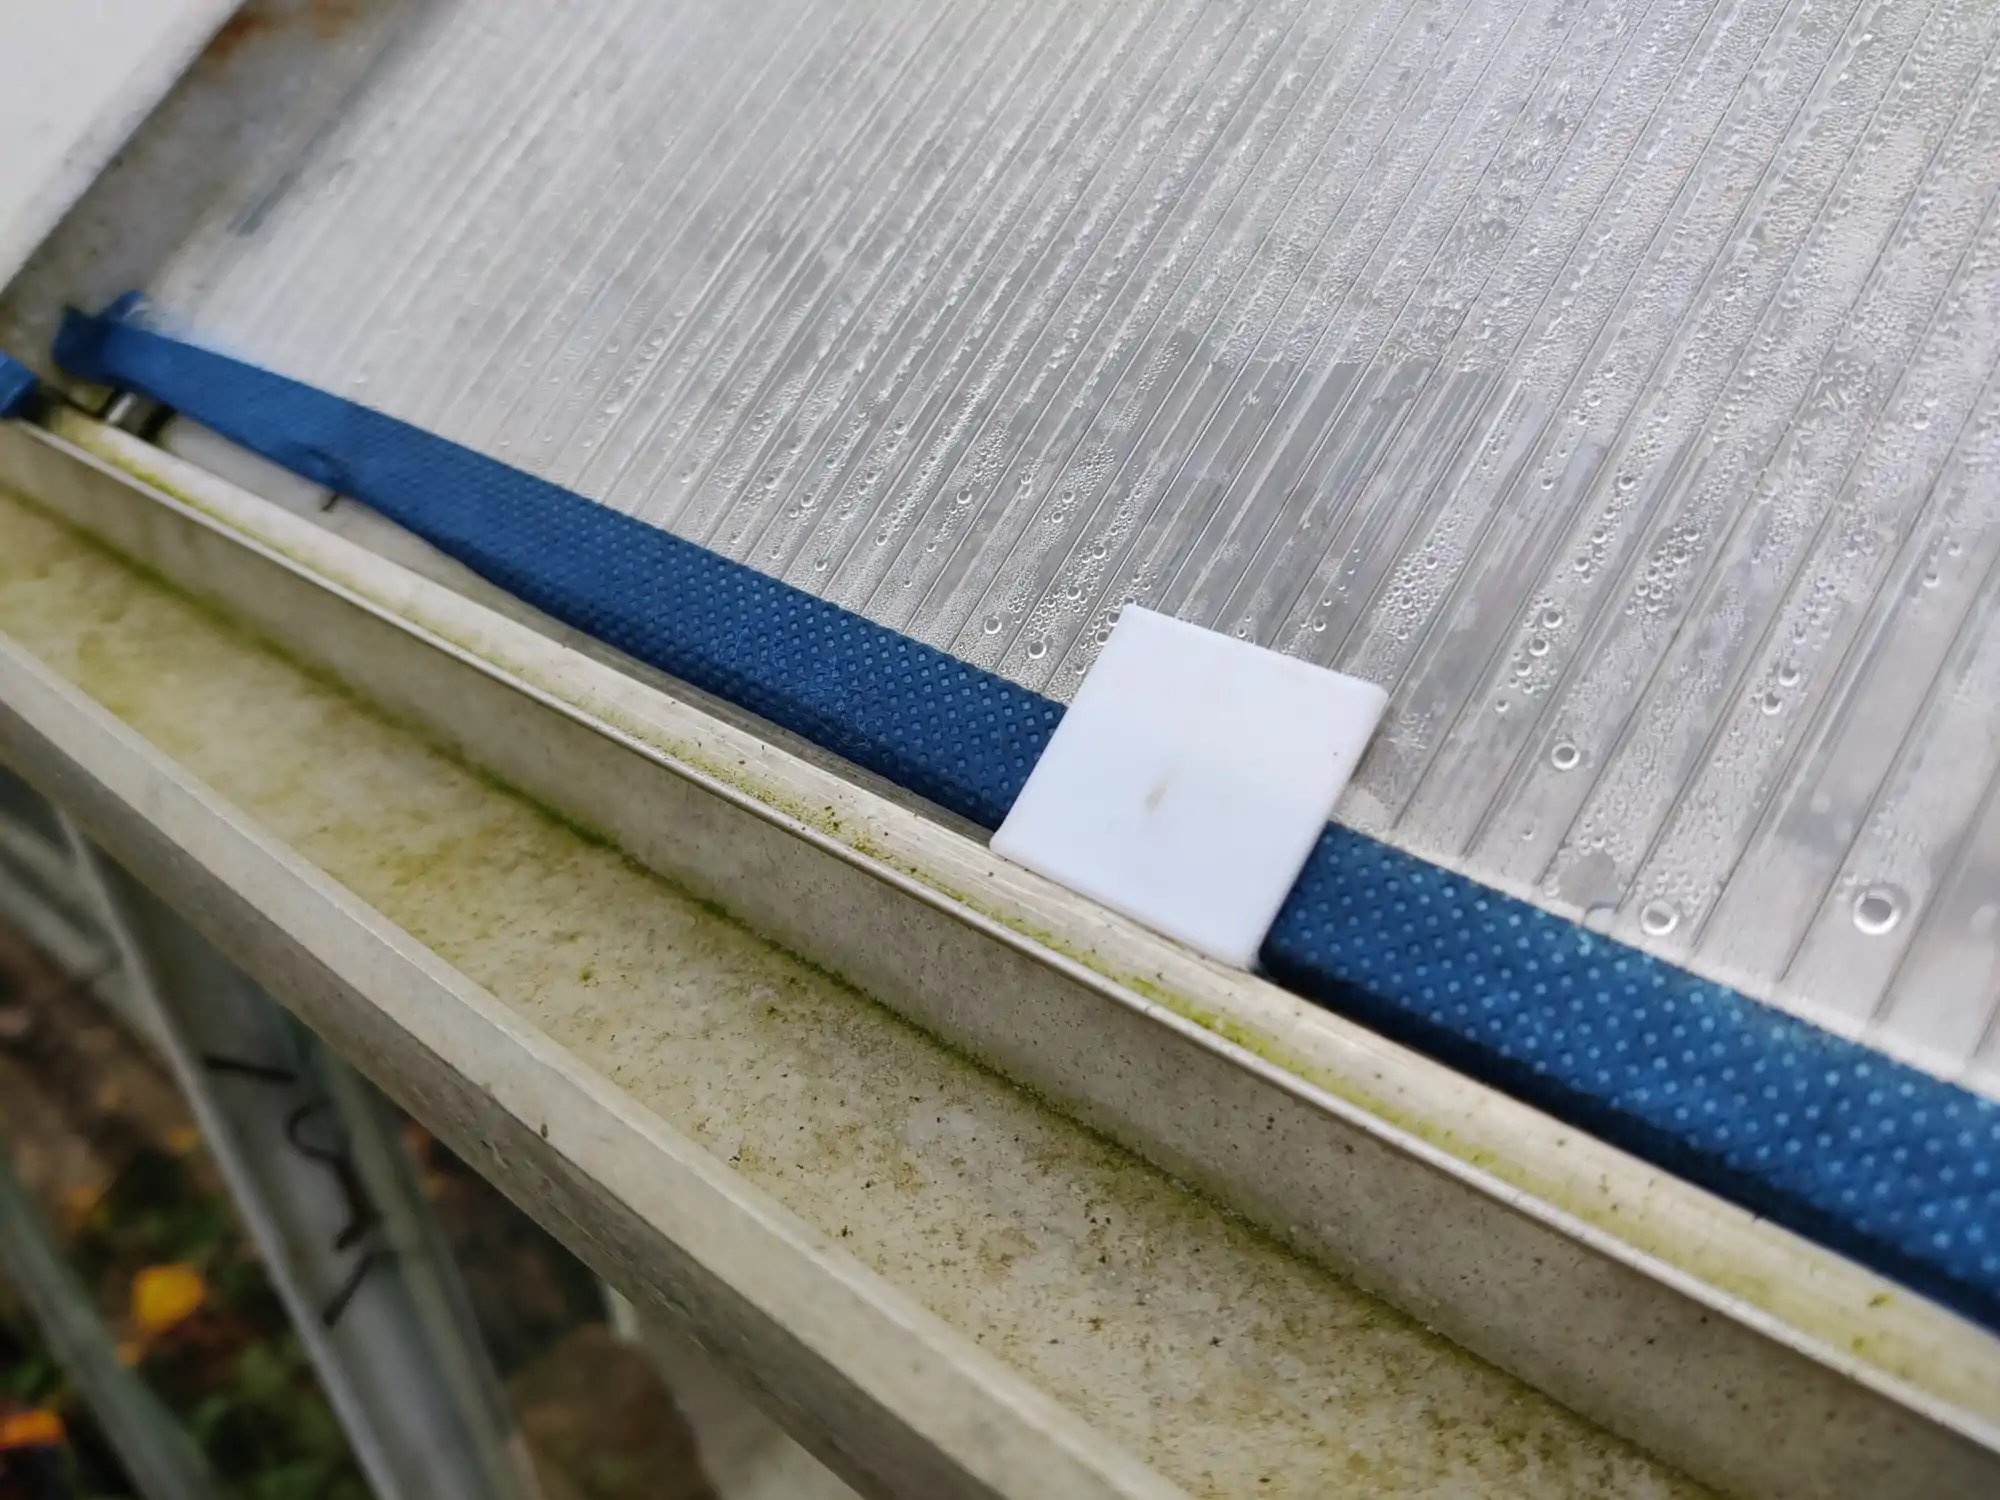
Lastly, I designed a new type of “Z” clip to hold the bottom of the pane against the frame of the greenhouse. I did try to use normal metal greenhouse “Z” clips for this (Seen on the right of the first image below) but these have a tiny surface area, easily defeated by the flex of polycarbonate. The use of these technically holds the pane in the wrong place at the bottom, when compared to glass panels, which could lead to more water leaking through, but that hasn’t really been a problem for me so far. With a bit more tweaking, this could be improved, but it’s in the realm of “good-enough” for me as-is.
This first image shows my initial prototype, which I slightly revised with a slightly longer front side for better retention, and tighter sizing to hold against the greenhouse frame better. The second image shows the underneath view of the clip, holding against the greenhouse frame.
So far, the combination of these three elements has worked but it’s been very windy at the time of writing so I’m probably tempting fate by writing this up. I know there are probably better ways to address the issues I’ve faced, or better roof options in general, but it’s been a fun process to find ways to address this via 3d printing, which of course is all in the name of helping to justify having a 3d-printer.
Here are STL files for each of the created parts:
These files are provided under CC0 1.0.
